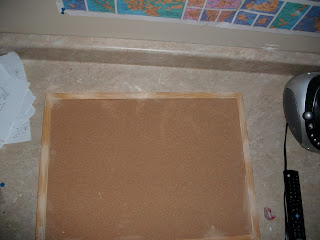
I know, I know.
Its been like 700 weeks since my last post.
Not literally, but still, its been a while.
But, its been busy.
And its been fun.
And I'm here to tell ya that I've got another tutorial for you.
Its called the Self-Decorated Bulletin Board.
And, to be honest, its one of my favorites.
So, be prepared to have your socks knocked off your feet!
Materials:
- A Bulletin Board (the size doesn't really matter,
just make sure you have enough paper to cover it!)
- Scrapbook paper (cute, coordinating paper is always best ;)
- Mod Podge
Optional:
- Sanding Paper
- Paint
*Ignore the fabric and buttons I have on there....
Step 1.
If you are going to paint the edge of your bulletin board,
you may want to consider sanding it.
It gives it a more "vintaged" feel.
Which we love, of course.
What I did with mine was to find certain points
That I wanted to create imperfections...
and sanded them.
I made little divets in the wood until
I got it looking how I liked it.
Step 2. Pant the frame.
In order to get a more personalized look and color, try mixing
paint to create your own color.
This color is a mix of dark brown, red, and light brown.
(paint after wiping off the dust from sanding of course)
Step 3. Lay out your papers and then mod podge.
There really is no right or wrong way to do this,
but there are a few tips.
When you're laying them out, I suggest making them fit
around the bulletin board, so you don't have to cut any
hanging edges.
This meands tucking papers under if you must.
Once you have your papers all laid out, start mod-podging!
Start with one paper at a time, and try applying mod podge directly to the paper.
If that doesn't work, then add it to the board itself instead.
Step 4. Let dry and enjoy!
Bulletin boards are especially fun for hanging notes, pictures, etc. on..
Personalize it as you wish, and most importantly.......
Have fun with your ridiculously easy self- decorated
bulletin board!


